
 Tweet
Tweet
Originally posted by 99yam40
View Post
-
I thought the “radial” business referred to the driveshaft bearing carrier. Bump it a little round and you loosen the funk buildup on oring. Then up and out. Cheap slide hammer works well. -
Initially, I used a rubber mallet and that simply didn't have the balls. I switched to a block of wood and a small sledge. That popped them right off.
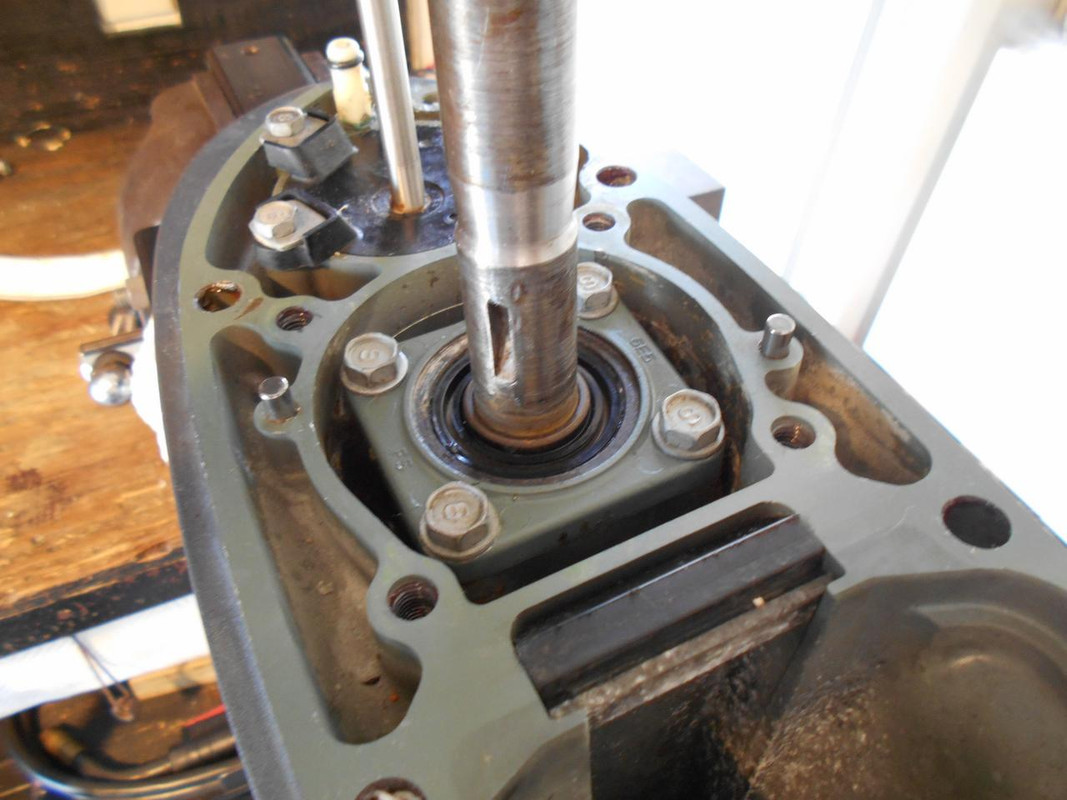
The driveshaft bearing seals were a mess. Upon initial inspection, I couldn't tell if they were leaking or not. There was no emulsified oil present on top and nothing obvious. There was however a bit of corrosion on the upper surface of the 'cap' or whatever the top is called. But since I knew the oil was bad in that engine I pulled it. The amount of corrosion and crud was astonishing. It took forever to clean that crap out. I decided right then and there to pull the other engine drive shaft seals as well. They too were a mess. I'll never do the water pumps again without replacing those.
I put a vacuum on both units with a Mighty Vac. Both held PSI perfectly. So, back on they'll go.
Thanks for all the help.
- Two-year-old internal engine zincs were in such good shape I simply wire brushed them and reinstalled them.
Last edited by oldmako69; 10-25-2019, 07:04 AM.Comment
-
Not sure I’d replace those seals at every impeller change....but.....better to be safe than sorry. You could pressure test them once a year to verify condition. Yearly lower unit oil changes are easy and cheap also.Originally posted by oldmako69 View Post
Comment
-
That's the problem with buying a used boat. I have no idea how old those seals were. They could have been installed at the factory in '05.
The original owner told me that he was hanging brand new pumps on the motors before he'd let me take delivery but I now think that he bullshat me on that. One pump had evidence of Permatex gasket material while the other did not. I find it unlikely that anyone doing two pumps would do that. He seemed to be pretty meticulous with the boat so I trusted him.
As far as the caps for the driveshaft bearing carrier, I was a bit surprised at how much corrosion there is on them and amazed that they were so badly corroded around the seals outer surface. Fortunately, the internal bore of the carrier cleaned up nicely. One engine did not have water in the gearcase so I guess the seals were still doing their jobs.
Comment
-
Just a side note.. On my '06, I had the top seal SS SPRING (in the top drive shaft carrier) "go away" a couple of years ago.
It was replaced just the one time.. Corrosion wasn't BAD but I also flush inside where the rubber plug (to adjust the trim tab) is..
The sealer crap was put on by a Yamaha master tech when I had the seals replaced (I didn't tackle it at the time):

Scott
1997 Angler 204, Center Console powered by a 2006 Yamaha F150TXRComment
-
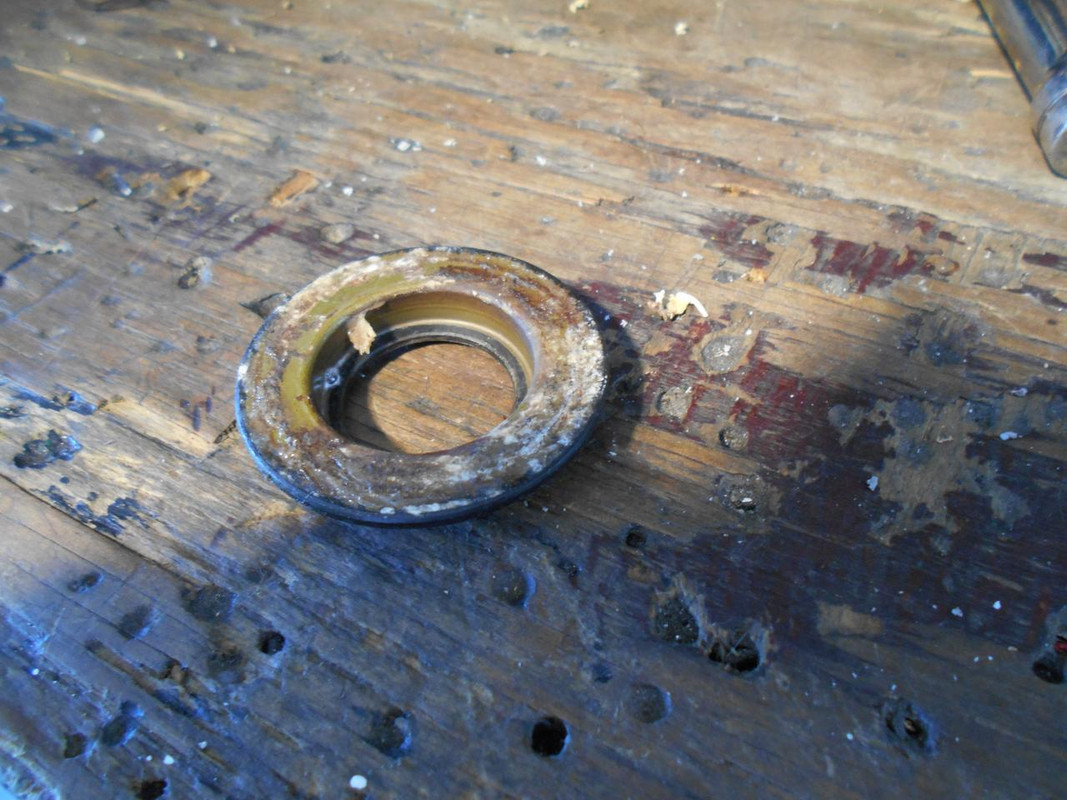
Your bearing carrier lid is pristine compared to both of mine. The crud evident in your second picture is what was jammed all around the bore of the bearing carrier, but a hell of a lot more of it. I knew I was in trouble when it took far too much work to pry out the old seals. They were cemented in place. I probably spent 30-40 mins (each) cleaning out that crap prior to reinstalling them on the lower units.
I ended up putting a hefty slab of marine grease on tops of them (under the little plastic cap) and all over just to try and keep the salt at bay. I faithfully rinse my engines 9 months of the year, but I am frequently without well water in winter. It sucks knowing that I am leaving salt in there.Comment
Comment